gapilot vans RV7 quick build kit
My Great Lakes 2T-1A-2 Rebuild Diary 2007.

08-December-2007. Saturday, it is pouring with rain and the wind forecast is for up to 60mph gusts in the afternoon. So I decided to work on the Great Lakes rather than fly my RV7! Having 
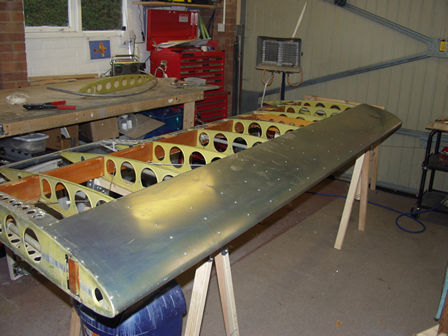
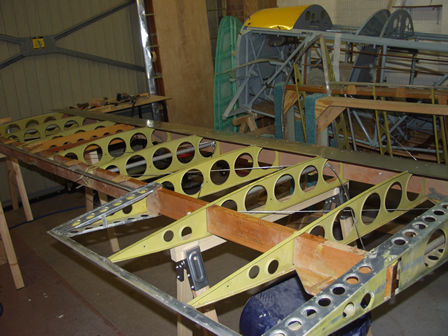
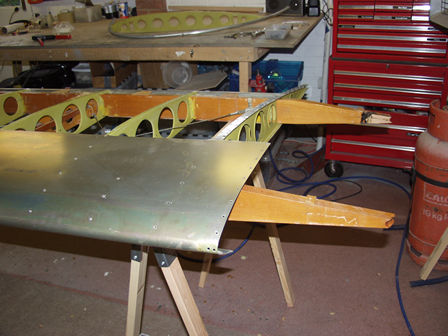
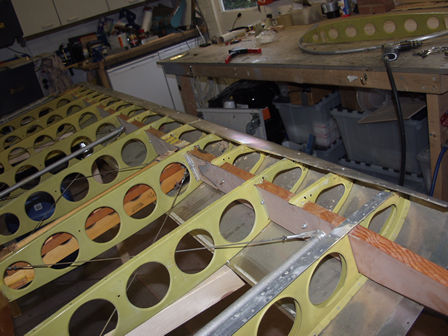
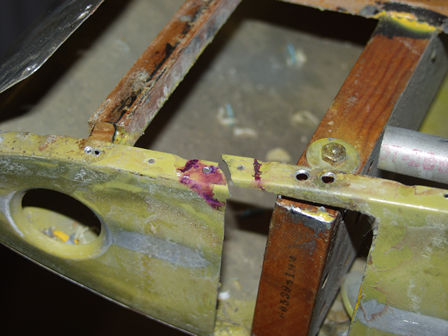
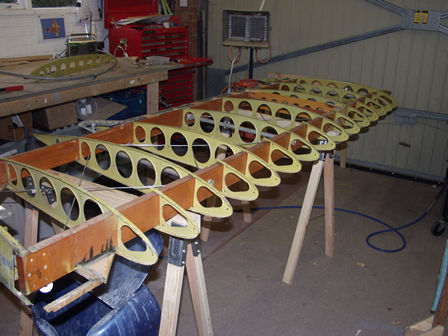
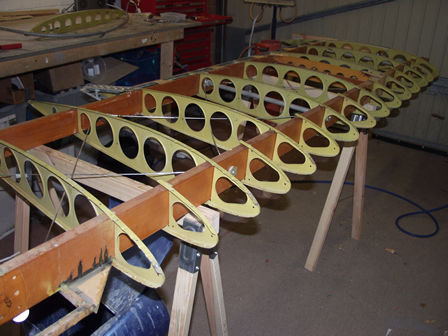
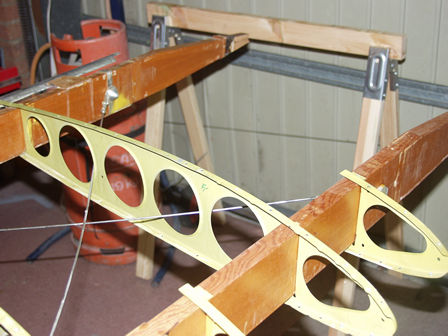
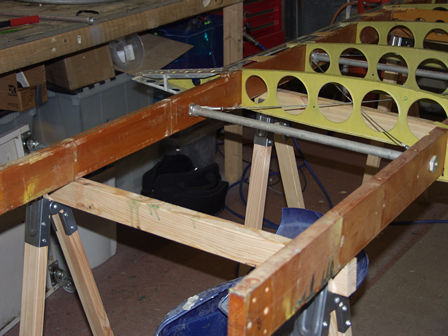
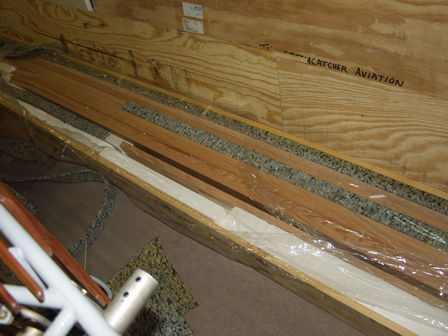
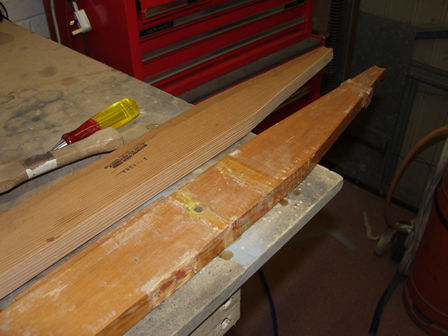
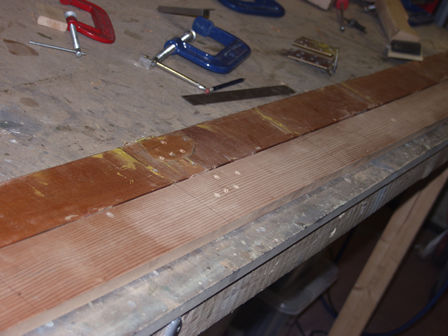
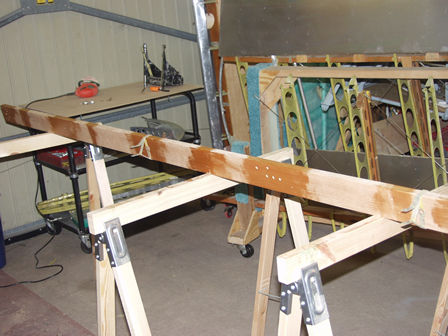
decided to rip the upper left wing rear spar out rather than make a repair I figured a good day on the job was needed. I started at 10:30 by 12:20 I had the rear spar out! Even I was supprised at 
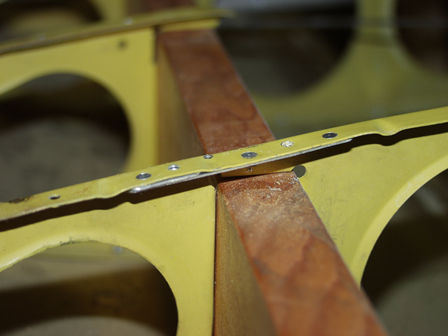
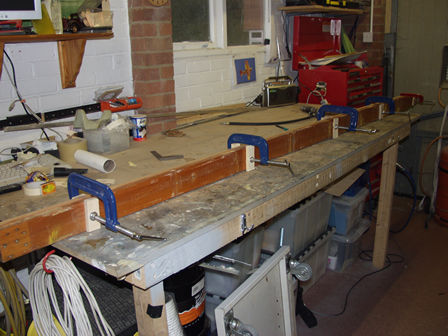
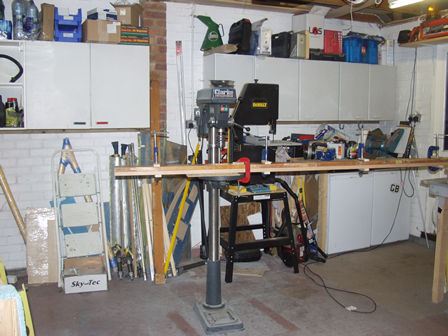
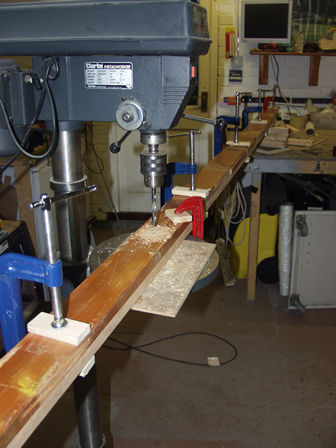
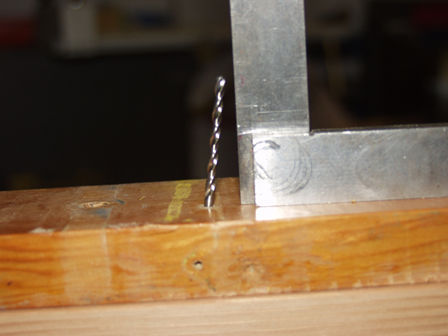
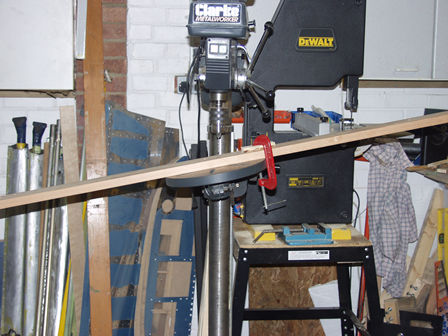
how well it went. No time to stop I got the new spar and drilled 
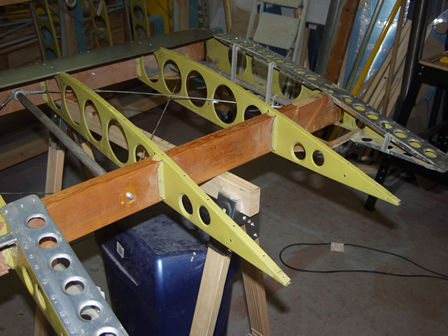
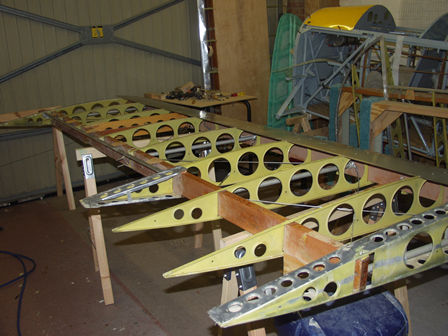
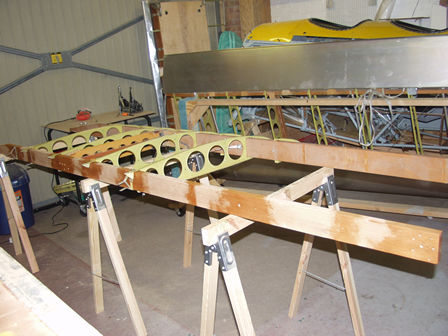
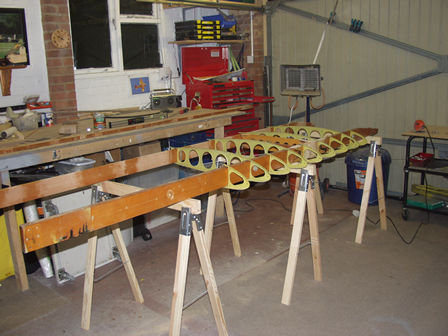
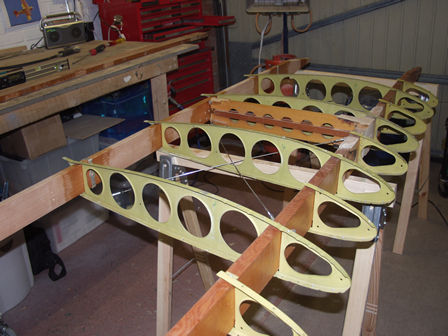
all the necessary holes and by 20:00 the new spar was back in the wing - with just a few ribs in place.


Here is today's progress:


At this stage my plan was to leave the ribs in place and slide out the old rear spar. However I could not get the cross braces out.
I thought I could just remove one or two end ribs.
So I started by just removing the end rib, but the spar would not budge.
I quickly realised I was wasting my time trying to slide the rear spar out.
As I disassembled I found this crack in the end rib.
And this previous repair. The front spar was replaced some time in the 80's and I figure this repair is from then. It has held up fine.
Trailing edge removed.
Leading edge removed.
All leading edge ribs are fine, except the first rib (shown above).
After removing another rib I was able to remove the brace.
After removing the first two inner ribs I was able to remove the brace.
After removing the first three inner ribs and the two outer ribs I was able to slip the old spar out.
No time to stand around, I already have a set of spars.
I will copy the old spar.
So I clamp them together to cross drill all the holes.
Driling the holes.
Check, measure etc.
I didn't drill all the spar end holes as two were oval. Instead I used the spar end bracket as the template for the rest of the holes.
The rib bolt holes are not straight through the spar. Good job I checked......
So I measured from the old spar and marked the position on the face of the spar and the rear also. So I could check the hole alignment.
The hole angle is 10 degrees - I could double check by the makings I made on the reverse. The hole came out where it should!
A small amount of varnish on the spar. I covered the areas where parts would be fitted (ribs and mounts) as I want to keep the spar as smooth as possible to slide the remaining ribs on.
So by the end of the day I was able to drop the replacement spar in place.
I stopped here as I intend to clean up the forward spar. There is nothing wrong with it so didn't replace it. It is a little scruffy with paint etc. So I will clean and revarnish.
I stopped here and went in for the evening, to give Jo some attention and write my web page. This allows me to reflect on my days work and review in pictures. Which I have done and realised that I have neglected to drill the vertical hole in the spar end. This will need to be done with the spar out. So it's a good job I didn't continue to fit the ribs as I almost did. Anyway, a good days work.
  Copyright © 2007 GreatLakes2T .co.uk All rights reserved. All pictures are property of GreatLakes2T (unless noted) please do not reproduce. For more information contact webmaster [at] greatlakes2t .co.uk This site is NOT the official Great Lakes Inc site. The contents of this site are the opinion of the author, not PFA, FAA or CAA. Please check all information is correct before you act upon it.