My Great Lakes 2T-1A-2 Rebuild Diary 2008.

August-2009.
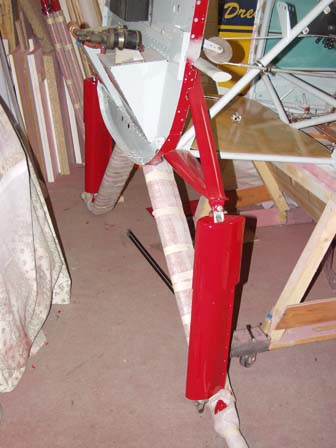
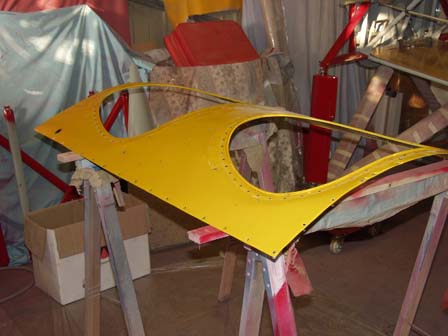
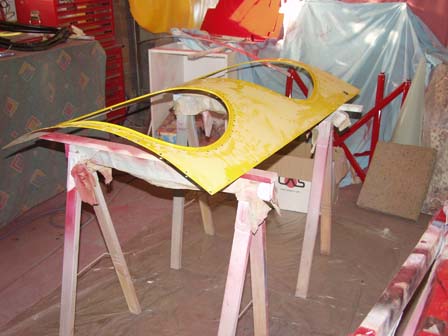
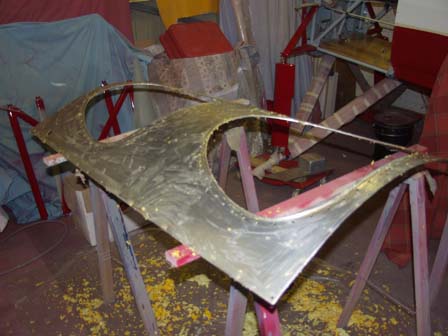
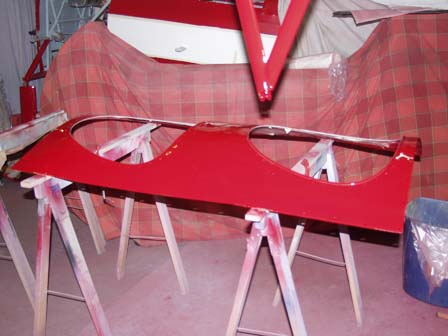
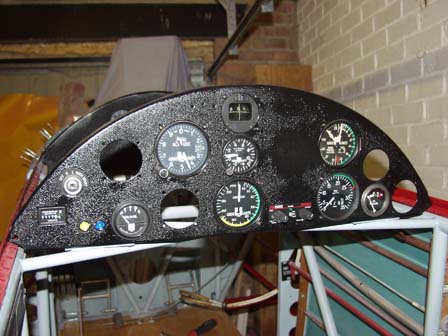
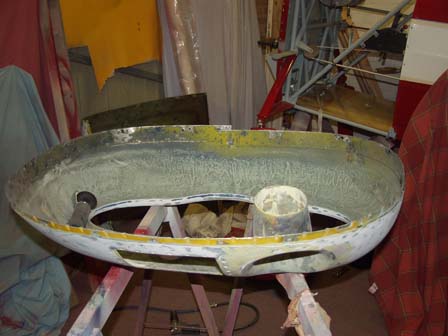
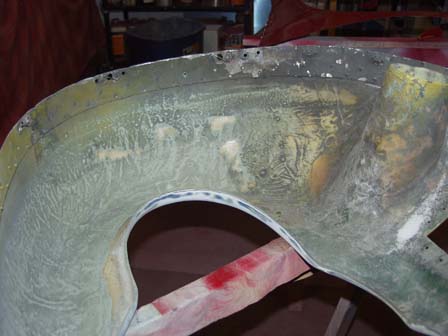
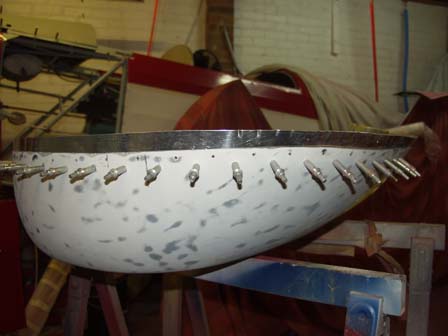
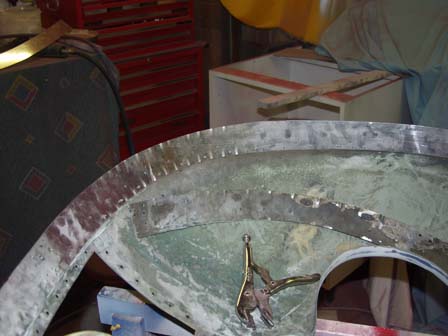
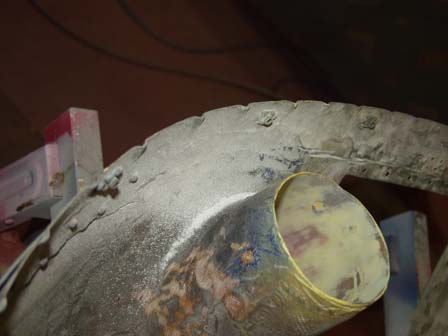
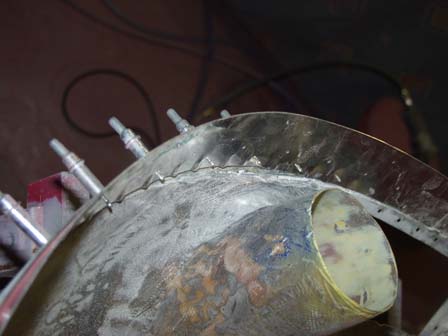
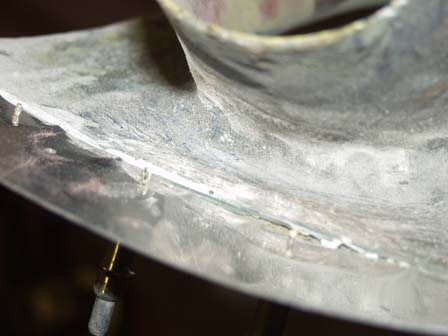
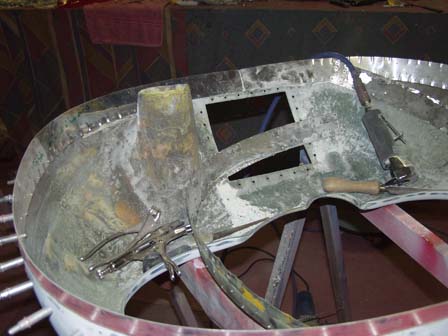
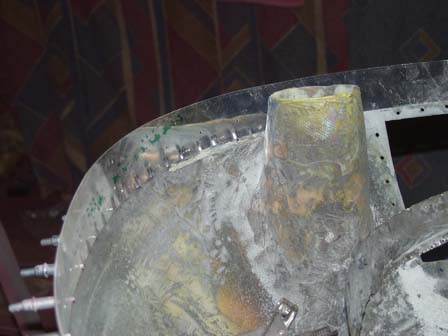
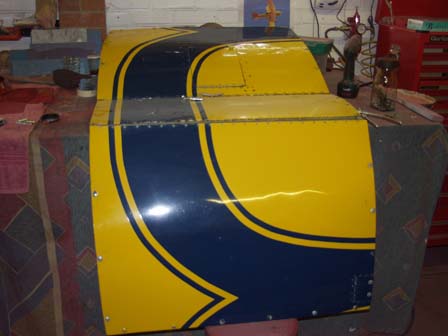
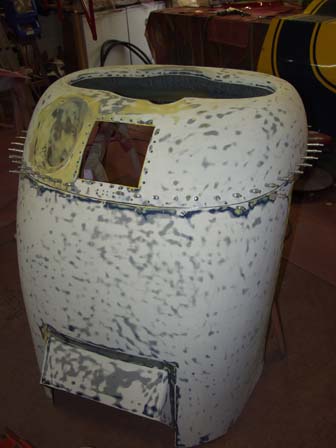
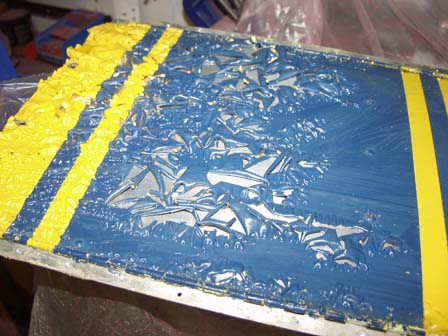
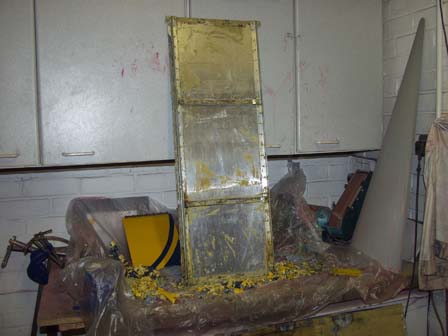
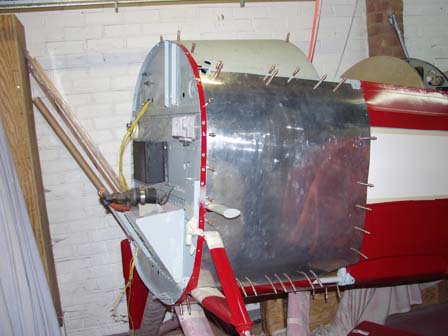
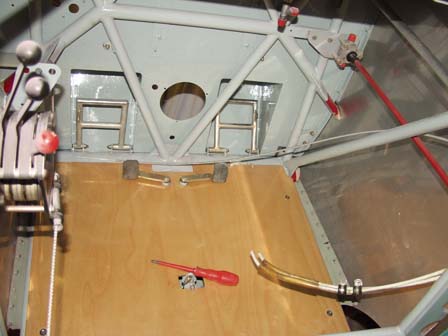
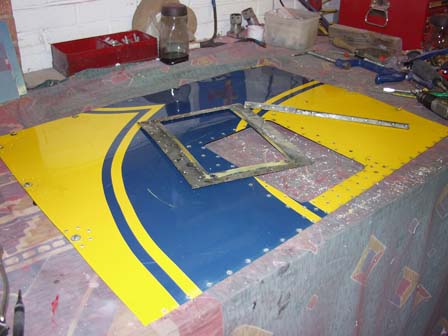
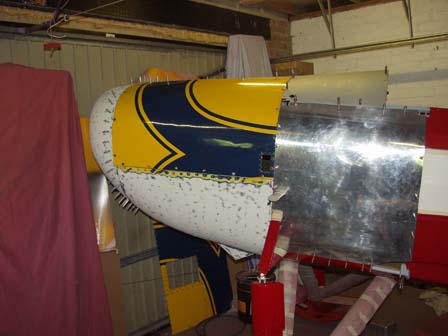
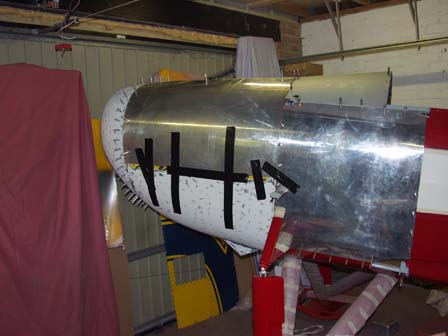
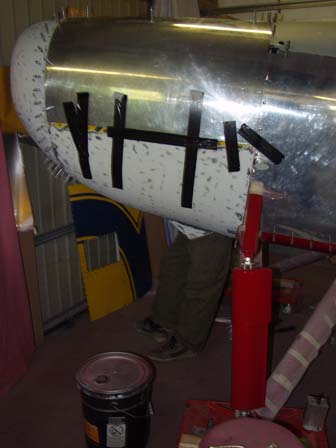
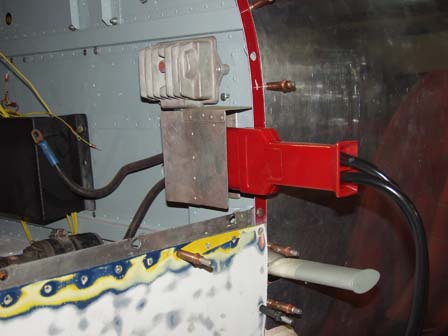
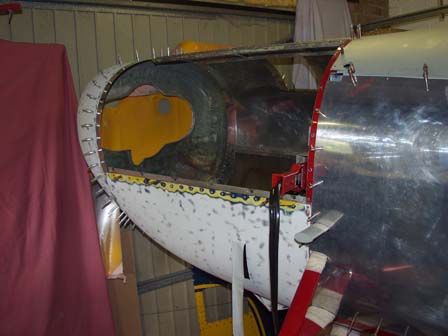
I have bene very busy and not much time to update site daily. So a whole month in one go! Rebuilding the cowl - the front fiberglass section I have overhauld and replaced all the metalwork. The only original part staying is the top skin. Lots of paint stripping - and repainting.


Replaced floor securing screws with nutplates and counter sunk screws with tinnerman washers.
.
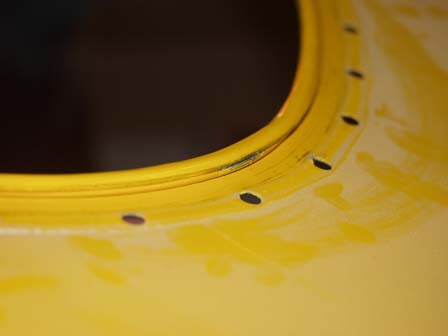
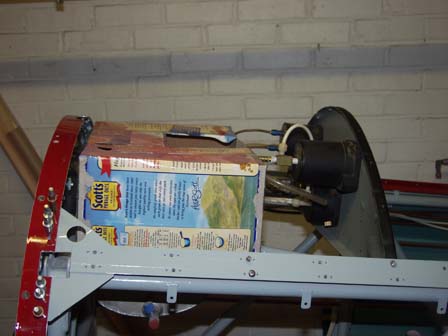
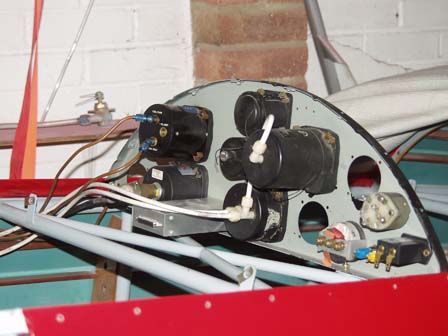
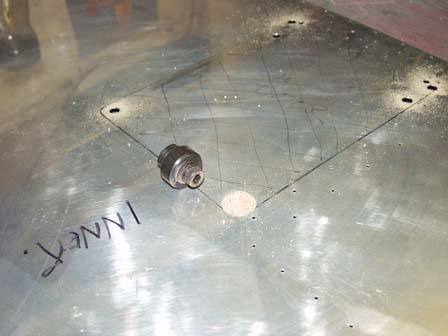
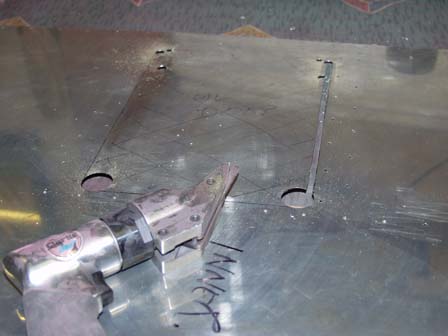
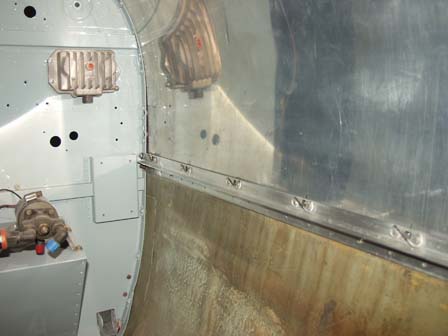
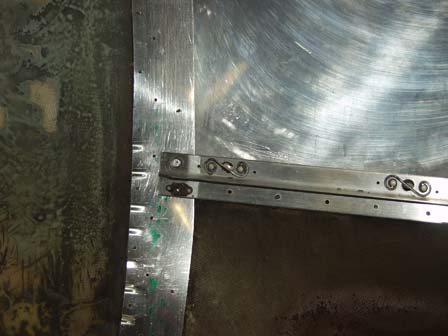
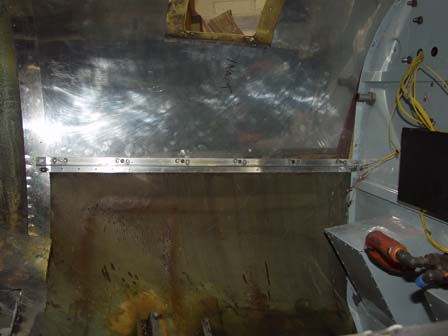
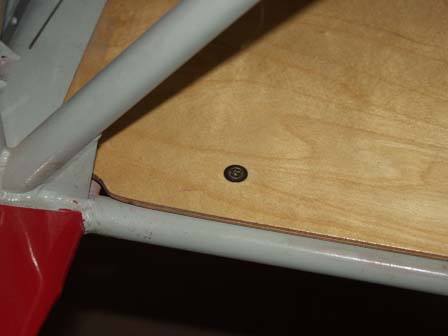
Countersunk screws with tinnerman washers.
The front brake rods were missing so I made some replacements. They will be removed after I have converted to type.
A clue to the final colour - as I have not been putting the fabric painting pictures on line.
I want the fuselarge on its wheel soon so painting the parts.
Suspension.
New nuts and bolts.
The control sticks had been painted. So i stripped them and sent them off to be re-cad plated. Came back like new!!!
I was going to replace the cockpit panel.
However after disassembling I changed my mind.
Due to the rolled edge. Very tricky.
So stripped and decided to keep the original panel.
Looks better!.
This is me looking for a location for a tank for a smoke system. Also thought about making the top skin into a tank. I have since changed my mind on this location.
Instrument panels going back in.
I recrinkle painted both instrument panels. Also added the radio into the panel and rearranged the layout.
Front cowl .
Overhaul the front cowl.
Replaced the metalwork.
Took some getting off as the cowl had been modified a few times and covered in resin.
The resin was VERY thick around the oil cooler modification.
I cut most of the thick resin away.
Cut so much away the cowl felt lighter! and my workshop looked a mess!!!!
.
I used the original metalwork as patterns for new.
Checking cowl alignment.
The only panel from the cowl I am keeping is the top one - stripping the paint off.
New side panels.
Cowl side with oil door.
Used hole punch to cut the radius for the oil door.
Looks a bit patchy - Checking alignment regular. The cowl is now really firm with just a few fixings in place.
The cowl uses DZUS fasteners. The fitting tool is expensive, so a query on ebay finally gets me a set for a more sensible price.
Gaffa tape holds the panels in place so I can crawl inside and mark the holes from the rear.
I check alignment from inside and outside cowl!.
Yes they are my legs at the bottom of the cowl. I was able to squeeze into the exhaust exit on the lower cowl.
Inside the cowl. Jo came to find me one evening - could not quite believe where I was. .
The ground power socket with plus fitted. I have since replaced the socket with a newer one. The original socket was also not correctly wired. New one will be!
The engine mount back from Xray to check for cracks.
Re-painted.
  Copyright © 2010 GreatLakes2T .co.uk All rights reserved. All pictures are property of GreatLakes2T (unless noted) please do not reproduce. For more information contact webmaster [at] greatlakes2t .co.uk This site is NOT the official Great Lakes Inc site. The contents of this site are the opinion of the author, not LAA, FAA or CAA. Please check all information is correct before you act upon it.